INFINITY JSA: O-Yoroi Pilot Bootleg Conversion Guide

Bootleg O-Yoroi Pilot Conversion Guide
It's been a long time since I worked on my favorite army, JSA! The Bootleg O-Yoroi Pilot is one of my all time favourite Infinity models. It is pure cheesecake mecha, both sexy and deadly. A lovely model to be sure and one of the reasons I wanted to collect both JSA and Infinity. However I was too exhausted after modeling and painting my first O-Yoroi to have a go at it in the past, especially trying to convert it like the wonderful Senior Giladez's version that we are all familiar with. A couple of years later, an additional army or two, plus a global pandemic as well as the model going out of production sending me into a panic buy (again!) meant that it was finally time to give this model conversion a crack.Whilst I did not do anything amazingly different from the masterclass version by Giladez, since the pose of the model does not allow for too much variation, I did want to put together a guide for others on how to do this conversion. This is because I searched far and wide but could not find anything on the web on how to do it. I just had to look at the masterclass version (as well as a couple of others that people out there did) and work out how to do it. I'm certainly not the first person to do this conversion but I hope I'm not the last, given that there are still quite a few bootleg models out there, and I hope that you guys and gals out there might find this guide helpful for having a go at it yourself.
Parts
All parts used from the Bootleg kit combined with the Standard O-Yoroi kit
The few parts not used (plus the katanas above that just don't seem to be able to actually fit anywhere inside the cockpit)

Body
I drilled and pinned the two halves of the open body cockpit to ensure a sturdy base to attach all parts to.
Once it was glued together I was ready to start the other parts and attach them to it. Note the large gap down the middle that would later be filled with greenstuff.


The shoulder mounts from the Standard TAG kit were drilled, pinned and attached to the body in order to bear the weight of the arms.

A tiny brass pin was added to the pilot seat mount so it could be attached firmly to the cockpit without fear of breaking off, especially when bearing the weight of the pilot.

Pelvis
I don't think many others (including the masterclass version) have bothered with this step, since you can barely see this bit once the model is assembled. It was really hard and tricky to do but worth it for my OCD. I had to cut the bottom of the pelvis off the Standard kit with a Dremel rotary tool and it was hard not to ruin it. The trick was to measure a fair way above what I wanted to save and cut there, after which I could shave the piece down to the desired level. I accidently snapped of the front part, but this could be fixed later with a pin and some greenstuff.
I did a dry fit first, getting a sense of how much need to be filed down on the bottom half of the pelvis so that it could fit properly with the top half and the front hatch.
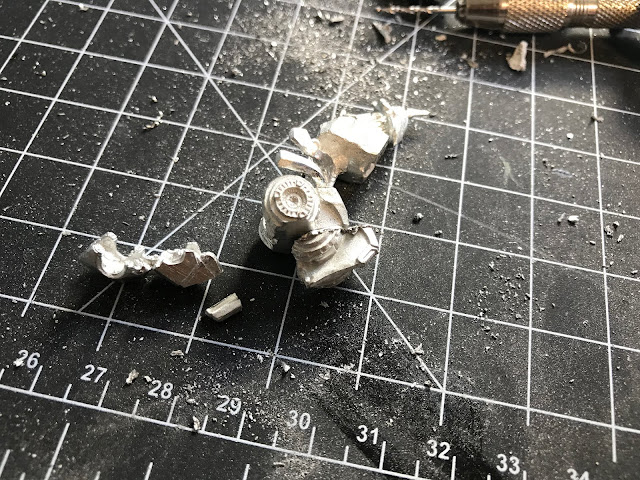
So much careful cutting, filing and sanding was done to get the piece right. Took ages.

Tiny brass pins were added to the front parts to pin them to the back for stability.


Once everything was super glued together it all fitted quite snugly. The gaps were sanded and would later be filled with greenstuff.


Tail
The tail fin was pretty simple to do.
The bottom fin was cut off at the joint on each piece.

The main fin from the Bootleg kit and the bottom fin from the Standard kit were retained, drilled and then pinned together.


Legs
Another straightforward section to prepare. The toes were drilled and pinned to the feet to provide stability when this top heavy model was to be assembled. Pin holes were drilled at the hip joints ready for assembly later. The tabs around the joints were cut and filed off in order for better assembly.

Gaps
All the gaps across the body and pelvis were filled with greenstuff, starting with the inside, then the back and finally the bottom in this order to avoid damaging finished sections with clumsy fingerprints.


Left Arm
The left arm could have been left as standard but it is better to convert it so that it does not obscure the pilot in her seat, which is the focal point of the model. To begin with I cut the piece in two at the elbow joint
A long pin was a added to secure the two pieces and provide an armature for the greenstuff that would be sculpted over it. A trick here is to line up the elbow properly with the forearm so that it keeps it's natural articulation and proper size.

A wad off greenstuff was added to the bicep area ready t o be sculpted

The bicep was sculpted blending with the original one.
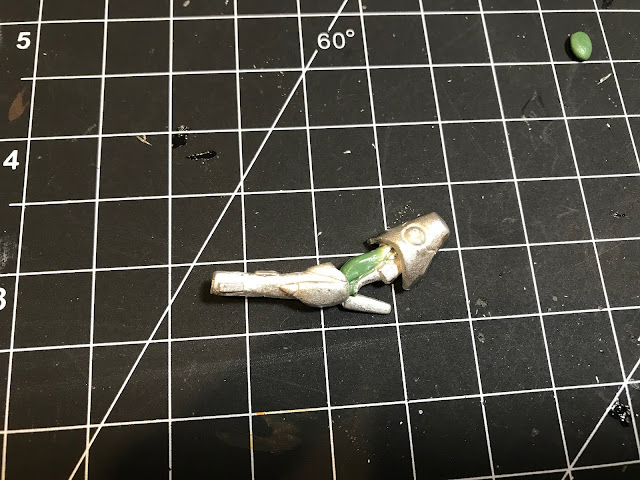

Many hours after the bicep dried, the forearm cowling was extended and sculpted around the inner side of the bicep. A pin was added to the shoulder for attachment to the body. Lastly the hand was glued as normal.

Right Arm
Simply, a pin was added to the shoulder socket.
Assembly
Converted or not, the O-Yoroi is not a easy model to assemble. It is very top-heavy, has small contact points on the feet and limb sockets, plus it's natural stance is a little too wide to sit properly on the base. Putting it together requires a lot of pinning in order to avoid it crumpling to pieces every time you touch or move it.To begin with I glued the right leg that has the large tab on it to a hole I drilled at the edge of the base. Once dry this would form a strong anchorpoint to assemble the rest of the model around.

Next, I dry fitted the body pins and other leg to get a sense of how it would fit together on the base. I had to file the hip joints a bit for things to fit snugly. After this I drilled a hole for the small pin on the left foot. At this point everything fit together smoothly and snugly so I then glued the pins in place and left foot to the base.

Once the legs and body had dried I had a very strong base to assemble the rest of the model to and tweak as desired.
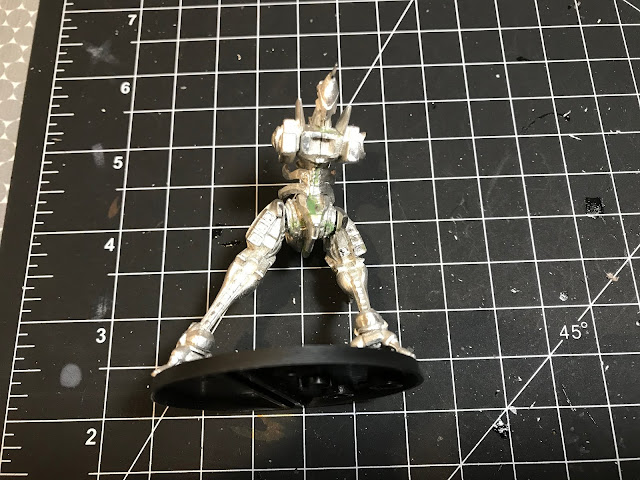
On the right arm the bottom part of the shoulder mount was cut away, as well as the corners of the joining tab, in order to allow better articulation for final assembly. The same was thing as done to the left arm, for the same reason.

After some dry fitting and tweaking the arms were glued and pinned to the body. The tail fin was attached as well.
I also glued the top hatch on and the small servo arms on to the bottom hatch. These small parts are too delicate to pin and have very little contact points with the model so you just have to rely on superglue and pray they don't get bumped. I'm not looking forward to painting them as they will likely get bumped off in the process and require fiddly reassembly.

Gaps in the shoulder and hip joints were filled with greenstuff and sculpted flat.
The left arm shield and katana were then glued on. With that done the TAG is complete and now needs it's lovely pilot.


Pilot
I pinned the leg in place and simply glued on the arms since they fit snugly in their sockets.
I wanted to magnetise her to the seat so she could be removed for fun (as well as easier to paint). I had to carefully drill holes in her back and the seat. The seat was especially tricky to do as it is so thin and easy to break. To drill these large holes precisely and carefully I used three drill bits from small to large.

Magnets are then glued into the holes.

Greenstuff is sculpted over the magnets because I didn't want big round holes to be visible when the model is finished. I also hope this will limit the scratching off of paint that occurs when you magnetise model parts and pull them apart/put them together.

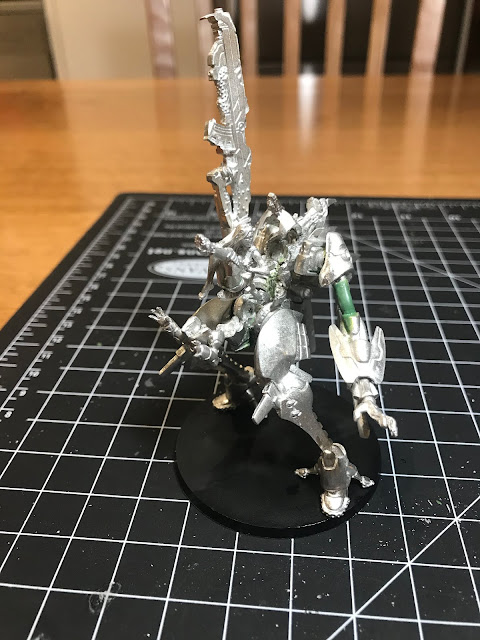
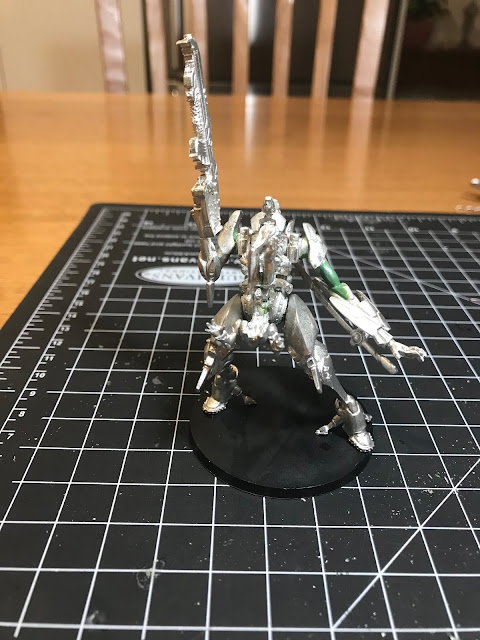
Completed
Her she is in all her glory.


BONUS
Ok, so the masterclass version has the Crazy Koalas attached to it and look pretty cute, so I wanted to do something similar but be able to remove them and use them as game pieces also. To this end I magnetised them to the base like so.
Crazy Koala 1
I wasn't even sure if there was enough space in this guy's tiny feet to fit any magnets, so I cautiously cut the tab off the left foot which is bigger than the right in order to drill a hole for the magnet. If this failed I would have simply attached him to the base with the remaining tab and give up on this idea.

After the foot was filed down it was time to drill those careful holes with progressively bigger drill bits.
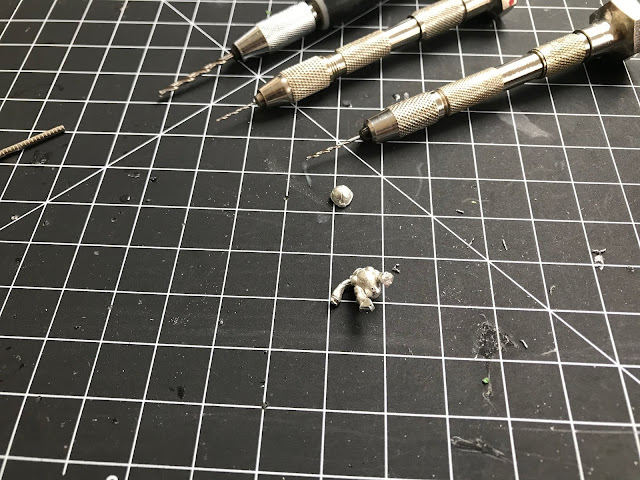
Amazingly the largest one fit without tearing apart the foot.

In goes the magnet.
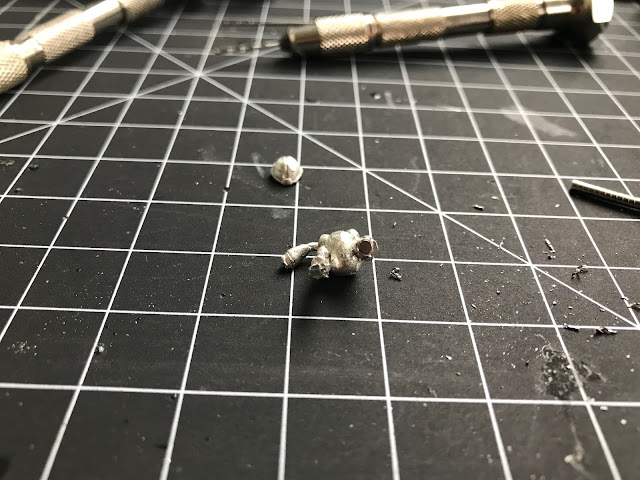
Hole for the base.

...And in goes another magnet.

Voila, works a treat!

Another hole is drilled in the O-Yoroi base. Notice all the magnets attached to the feet of the Koala? This is done so that I'm ready to slot one into the base without putting it in the wrong way with the wrong polarity direction. I just grab the whole stack and push the bottom one in aways, flattening it in place with a flat metal object.

In it goes.

Now I'm able to give the model some personality and twist his little hand sideways so it looks like he is peering out cautiously over the TAG's foot. I glued on the head at this stage too as I could now position it expressively (The way you face the head of a model makes a big difference to it's character so it should always be attached last once you know what the physicality of the body is telling you).


Crazy Koala 2
Same process for the other little guy. He was easier as there is a big ball of smoke under his foot that easily accommodated the magnet.
Drill.

Magnetise.


Assemble.

Boom Badda Boom Group
Here is the whole happy family: Sexy Momma, Mecha Pappa, and two explosive Bubs.


Hang on, who is driving now? (For some reason I just love making all the magnetised parts interchangeable)

Nobody home...

Well that's it. A really fun miniature to build and convert over a few days. Hope that some of you guys out there give it ago to honour one of Corvus Belli's finest creations. Now I gotta get around to painting it...

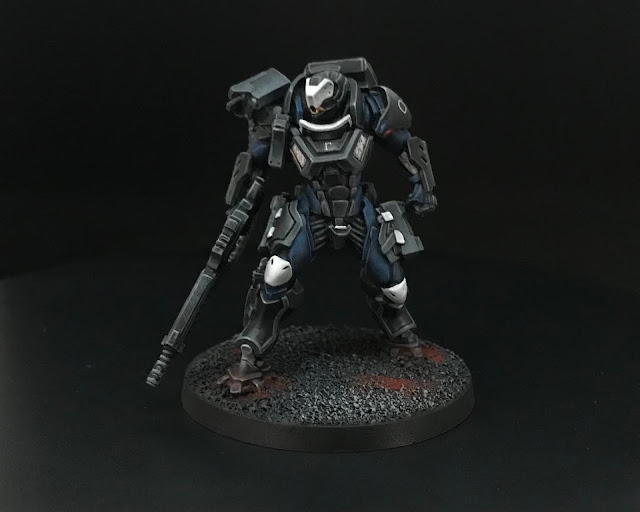

ʕ◉ᴥ◉ʔ WoWW so great, congrat ��
ReplyDeleteThis is just insane! Massive Congrats on this achievement. Terrific Model! Superbe!
ReplyDelete